If you're a cryptocurrency enthusiast, you're probably familiar with Metamask, one of the most popular Ethereum wallets. But what exactly is Metamask, and how can you use it to store and manage your digital assets? In this article, we'll provide a comprehensive guide to Metamask wallet login, including the steps you need to take to create an account, set up your wallet, and secure your funds.
What is Metamask?
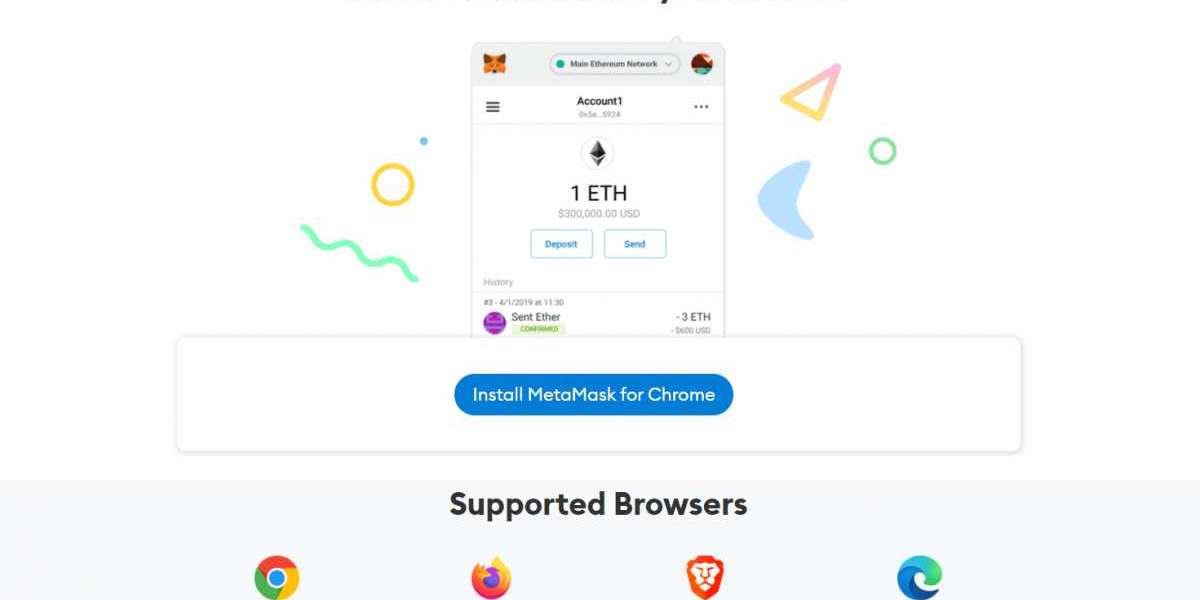
Metamask is a browser extension that allows users to interact with the Ethereum network, as well as other networks that support Ethereum-based tokens. With Metamask, you can manage your digital assets, send and receive payments, and access decentralized applications (dapps) that run on the Ethereum blockchain. Metamask Wallet is available for Google Chrome, Firefox, Brave, and Edge, and can be downloaded from the official Metamask website.
How to Create a Metamask Wallet
To get started with Metamask, you'll first need to create a wallet. Here's how:
Step 1: Install the Metamask Extension
Go to the Metamask website and download the extension for your preferred browser. Once installed, you'll see the Metamask icon in your browser toolbar.
Step 2: Create a New Wallet
Click on the Metamask icon and select "Create a Wallet" from the dropdown menu. You'll be prompted to create a password, which will be used to encrypt your private key.
Step 3: Backup Your Seed Phrase
After creating your wallet, you'll be given a seed phrase, which is a series of 12 words that can be used to restore your wallet if you ever lose your password. Make sure to write down your seed phrase and keep it in a safe place.
How to Log In to Metamask
Once you've created a Metamask wallet, logging in is easy. Here's how:
Step 1: Open Your Metamask Extension
Click on the Metamask icon in your browser toolbar to open the extension. If you're logging in for the first time, you'll be prompted to enter your password.
Step 2: Connect to a Network
Metamask allows you to connect to multiple networks, including the Ethereum mainnet, testnets, and custom networks. To log in, select the network you want to connect to from the dropdown menu.
Step 3: Access Your Wallet
Once you've connected to a network, you'll be able to access your wallet and manage your digital assets.
How to Secure Your Metamask Wallet
Security is a top priority when it comes to managing digital assets. Here are some steps you can take to secure your Metamask wallet:
Use a Strong Password
Make sure to use a strong, unique password for your Metamask wallet. Avoid using common words or phrases, and include a mix of letters, numbers, and symbols.
Backup Your Seed Phrase
As mentioned earlier, your seed phrase is essential for restoring your wallet if you ever lose your password. Make sure to write down your seed phrase and keep it in a safe place.
Enable Two-Factor Authentication
Metamask supports two-factor authentication (2FA), which adds an extra layer of security to your account. You can enable 2FA by going to your Metamask settings and selecting "Security Privacy."
Use a Hardware Wallet
For even more security, consider using a hardware Metamask Wallet, such as a Ledger or Trezor device. Hardware wallets store your private keys offline, making them much harder to hack or steal.