Have you recently got to know that MetaMask allows you to create multiple accounts within the same wallet and now you also wish to create several accounts within your wallet? Well, in that case, you can find this guide at your rescue. Apart from providing you with basic information regarding the same, we'll also be helping you create MetaMask multiple accounts both in the MetaMask extension as well as MetaMask mobile app.
But, do you know why should you create multiple accounts in MetaMask? Well, we're going to discuss the same in the section to follow. So, stay tuned.
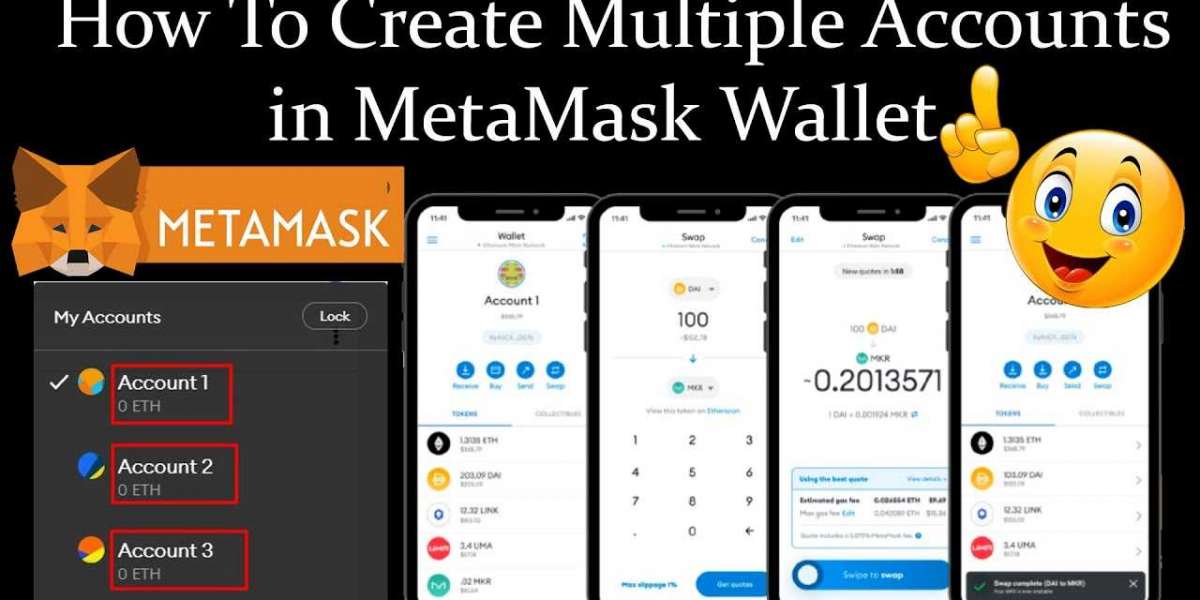
Benefits of creating multiple accounts in MetaMask
Creating MetaMask multiple accounts come with several features and functionalities. When you first set up your account on MetaMask, a default account (Account 1) is created in your name. Though this default or primary account is enough to store all your crypto assets in one place, you will require additional accounts to seamlessly manage different types of crypto assets.
For example, if you purchase some ETH tokens and then you purchase some ERC 20 tokens, and you wish to keep them separately, then the MetaMask Multiple Accounts feature would come into action and will help you segregate your funds in a much better way.
Now, moving on, it is time to learn the procedure to do so.
Creating additional accounts in the MetaMask extension
- If you are just getting started with MetaMask, first, install its extension
- Set up a new wallet or sign in to an existing one
- In case you are trying to import an existing account on a new device, you will need your Secret Recovery Phrase
- Further, you need to navigate to the "Accounts" section on your homepage
- When you land there, you can simply select the "Create Account" option
- You can name this account as per your preference
- Or, you may repeat the given steps for creating as many accounts as you want
- Please note that each of your accounts will have its own address
Now this marks the end of the MetaMask multiple accounts creation process. However, if you are using MetaMask via its app, then you need to refer to the section to follow.
Creating MetaMask multiple accounts in MetaMask app
- If you prefer using the MetaMask mobile app, download and install it from the respective application store (iOS or Android)
- Once installed, open the MetaMask app on your mobile device. If you're using it for the first time, you will be guided through the account setup process
- Follow the on-screen instructions to set up your first MetaMask account on the app
- This involves generating a unique wallet address and setting up a password
- After creating your first account, you can access the account list by navigating to the account section in the app
- In the account list, you'll find an option to add a new account
- Tap on it to create additional accounts
- You can repeat this step to create as many accounts as you need, each with its own unique wallet address
Concluding thoughts:
In last, I just want to say that one should give heed to keeping account information and recovery phrases secure. Having MetaMask multiple accounts can be helpful for organizing and managing different crypto assets in a single wallet, but it also means you should keep track of multiple sets of private keys or recovery phrases.