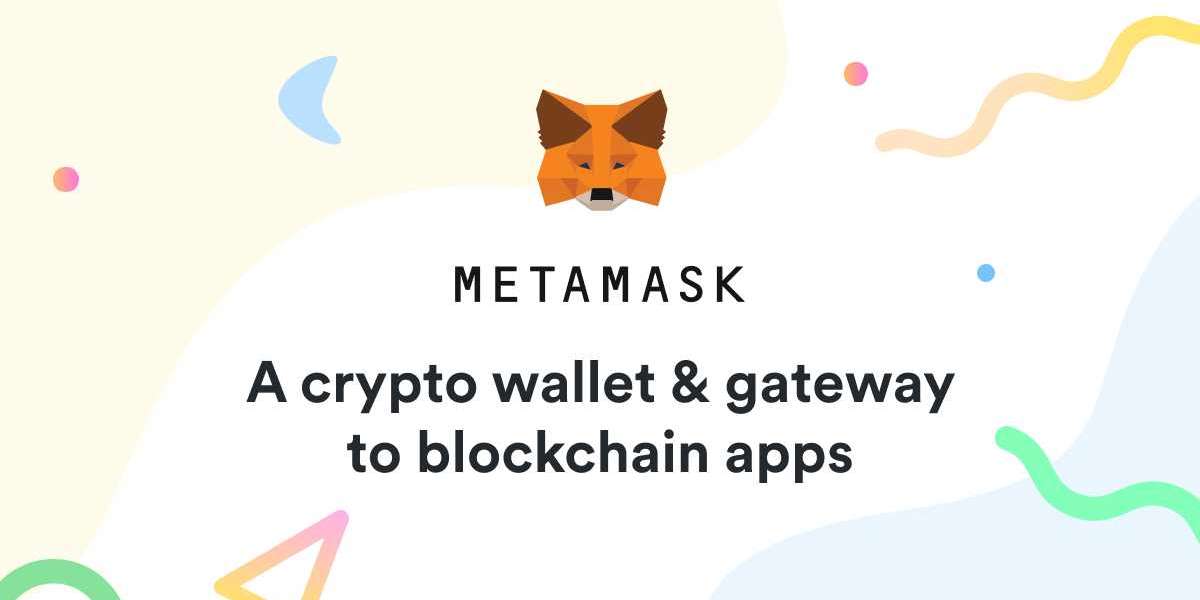
Introduction to MetaMask
MetaMask is a browser extension and mobile application that enables users to manage their Ethereum private keys. It is a critical tool for accessing the decentralized web (Web3), allowing users to interact with decentralized applications (dApps) directly from their browser. MetaMask provides a user-friendly interface to manage cryptocurrency transactions and seamlessly integrate with blockchain networks. In this article, we will delve into the detailed process of setting up and using MetaMask Login , ensuring you can securely manage your digital assets.
Setting Up MetaMask
Installing the MetaMask Extension
- Browser Compatibility: MetaMask supports Chrome, Firefox, Brave, and Edge browsers. Visit the official MetaMask website and download the extension compatible with your browser.
- Installation Process:
- Navigate to the extension store of your browser.
- Search for "MetaMask" and click "Add to Browser".
- Follow the prompts to install the extension.
- Creating an Account:
- Once installed, click on the MetaMask icon in your browser toolbar.
- Click on "Get Started".
- Choose "Create a Wallet" if you are new to MetaMask. If you have an existing wallet, select "Import Wallet".
Security Setup
- Password Creation:
- Create a strong password for your MetaMask wallet. This password will be used to unlock your wallet on the current device.
- Secret Backup Phrase:
- MetaMask will generate a 12-word secret backup phrase. Write this phrase down and store it securely. This phrase is crucial for recovering your wallet if you forget your password or need to access your wallet on a different device.
- Confirming Backup Phrase:
- Confirm your backup phrase by selecting the words in the correct order. This ensures that you have correctly recorded your backup phrase.
Logging into MetaMask
Accessing Your Wallet
- Unlocking MetaMask:
- Click on the MetaMask icon in your browser toolbar.
- Enter your password to unlock your wallet.
- Connecting to dApps:
- MetaMask will prompt you to connect to decentralized applications. This allows you to interact with various dApps directly from your MetaMask wallet.
Importing an Existing Wallet
- Using a Secret Backup Phrase:
- If you have an existing wallet, you can import it using the 12-word secret backup phrase.
- Click on "Import Wallet" and enter the phrase in the correct order.
- Private Key Import:
- Alternatively, you can import a wallet using a private key. This method is less secure than using a secret backup phrase, but it is available if needed.
Managing Your MetaMask Wallet
Viewing Account Balance
- Main Account Screen:
- After logging in, the main account screen will display your Ethereum balance and recent transactions.
- Adding Tokens:
- Click on "Add Token" to view and manage various ERC-20 tokens within your MetaMask wallet.
Sending and Receiving Cryptocurrency
- Receiving Funds:
- Click on "Receive" to view your wallet address.
- Share this address with others to receive Ethereum or ERC-20 tokens.
- Sending Funds:
- Click on "Send" and enter the recipient’s wallet address.
- Specify the amount and confirm the transaction.
Transaction History
- Viewing Transactions:
- Your transaction history is displayed on the main account screen.
- Click on individual transactions for detailed information, including transaction ID, status, and gas fees.
Advanced MetaMask Features
Connecting to Custom Networks
- Network Customization:
- MetaMask supports various networks such as Ethereum Mainnet, Ropsten, Kovan, and custom RPC networks.
- Click on the network dropdown and select "Custom RPC" to add a new network.
- Network Settings:
- Enter the network name, RPC URL, chain ID, symbol, and block explorer URL to connect to a custom network.
Using MetaMask with Hardware Wallets
- Hardware Wallet Integration:
- MetaMask can be integrated with hardware wallets such as Ledger and Trezor for enhanced security.
- Connect your hardware wallet to your computer and follow the prompts in MetaMask to complete the integration.
MetaMask Mobile Application
- Mobile App Setup:
- Download the MetaMask mobile app from the App Store or Google Play Store.
- Use the same secret backup phrase to import your wallet into the mobile app.
- Syncing with Desktop:
- You can sync your MetaMask extension with the mobile app for seamless access across devices.
Security Best Practices
Keeping Your Wallet Safe
- Regular Backups:
- Regularly back up your secret phrase and store it in a secure location.
- Avoid Phishing Attacks:
- Be cautious of phishing sites and always double-check URLs before entering your wallet information.
- Use Strong Passwords:
- Use strong, unique passwords for your MetaMask account and associated email addresses.
- Enable Two-Factor Authentication:
- Enable two-factor authentication (2FA) on your email and other services linked to your MetaMask wallet.
Dealing with Compromised Wallets
- Immediate Actions:
- If you suspect your wallet has been compromised, immediately transfer your assets to a new wallet.
- Revoke all connected dApps and reset your secret backup phrase.
- Reporting and Recovery:
- Report the incident to MetaMask support and follow their guidance for recovery.
Conclusion
MetaMask Login is an essential tool for navigating the decentralized web, offering robust features for managing digital assets securely. By following the steps outlined in this guide, users can confidently set up, log in, and manage their MetaMask wallet, ensuring a seamless experience in the world of blockchain and cryptocurrencies.